There has never been a time when waterfowl hunters had gear options this good. Waterfowl specific gear is available in every category you can think of, and while some items are nothing more than a modern twist of the tried-and-true, others are truly innovative. Duck and goose decoys for the most part fall into the latter category.
Today’s manufacturing techniques blend the most resilient materials and ultra-realistic paint schemes with species-specific, varied body profiles. The days of pushing the entire catalog of duck and goose decoys through two or three molds are over as contemporary waterfowl hunters expect the best when hunting increasingly wary waterfowl.
Given the logistics and settings required to successfully hunt ducks and geese, it’s safe to say no other group of hunters is as tough on gear as waterfowl hunters. Decades of real time testing done by hunters who give their gear a thorough whuppin’ is indispensable for product development.
While modern decoys are worth every penny, these critical waterfowl hunting tools still face an extremely punishing existence. Like anything else, a little preventative care and maintenance, as well as occasional repairs, will keep decoys in A-team condition.
Most hunters can relate to the annual end of season rite of announcing to themselves they’ll deal with decoy issues before next season. However, all too often, decoys end up shoved in the shed or trailer never to see the light of day until a day or two before said season opener. Are you that guy? I know all too often I am that guy, and pretty much all my hunting buddies are, too – some of the time anyway. One thing is certain, though, decoys aren’t going to fix themselves and summertime presents a great opportunity to address decoy issues. So, let’s get to work!
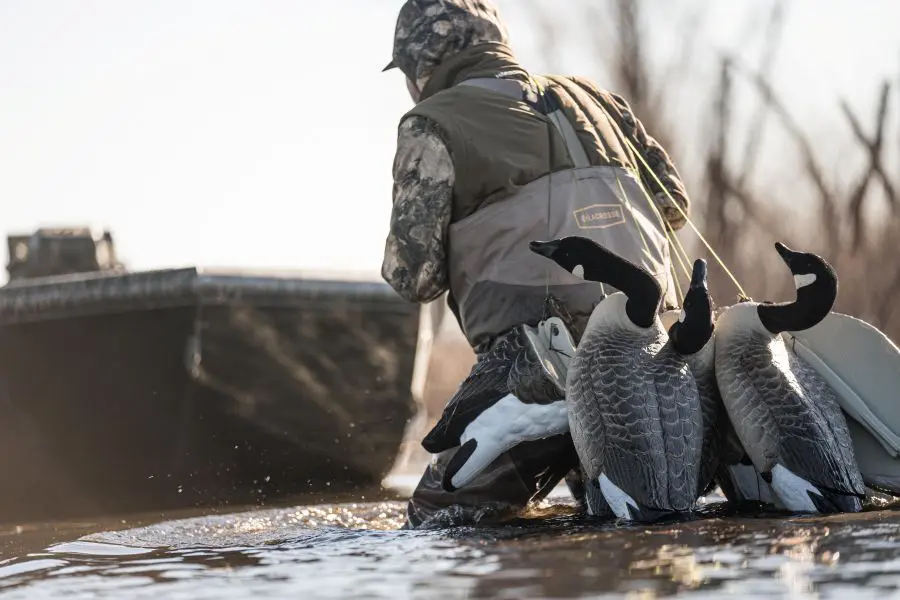
Decoy Lines and Anchors
Without question, decoy lines and anchors are the most problematic element of your floater spread. It really doesn’t matter what your preference is style-wise, it’s a good bet plenty of your decoys could use attention in this regard. Lines vary from crummy poly braids to fat plastic. Whether you prefer “Texas rigs” or conventional lines that require winding around the keel or body of the decoy, some options are better than others for a given task, so choose wisely. It’s common to be faced with anchor lines that are too short or anchors that are too light, so think versatility when rigging decoys.
While Texas rigs are the least versatile setup, they are the easiest to fix and require less maintenance than other styles. Nonetheless, each line should be checked annually for problems such as slipping crimps, damaged swivels and clasps, and of course line length and integrity. Fix and replace as needed.
Also, if you have a hodgepodge of different styles (they vary greatly) do yourself a favor – pick your favorite configuration and swap them out for the “oddballs”. This will make setup and pickup easier, and storage a lot easier, too.
Conventional lines are very prone to rot and break over time, and failure often occurs in the field. Chasing decoys floating away because the line snapped while setting the “greatest decoy spread ever” is not ideal. Inspect and test knots and line strength (…pull hard!), and change lines as needed every couple of seasons. If they are severely tangled, cut them off and start over.
Anchor style is a very debatable topic, and which anchors you use may be a matter of whatever was handed down to you or what your mentor preferred, but that doesn’t necessarily assure they are perfect for your needs. Some anchors are better than others for different applications. Do your decoys end up dragging two pounds of weeds up every time? Do they slide across the hard bottom because they have no grip? Do they stay put on the decoy well when stowed? If you haven’t already, consider which anchor style is best suited to your needs and switch your go-to spread to them.
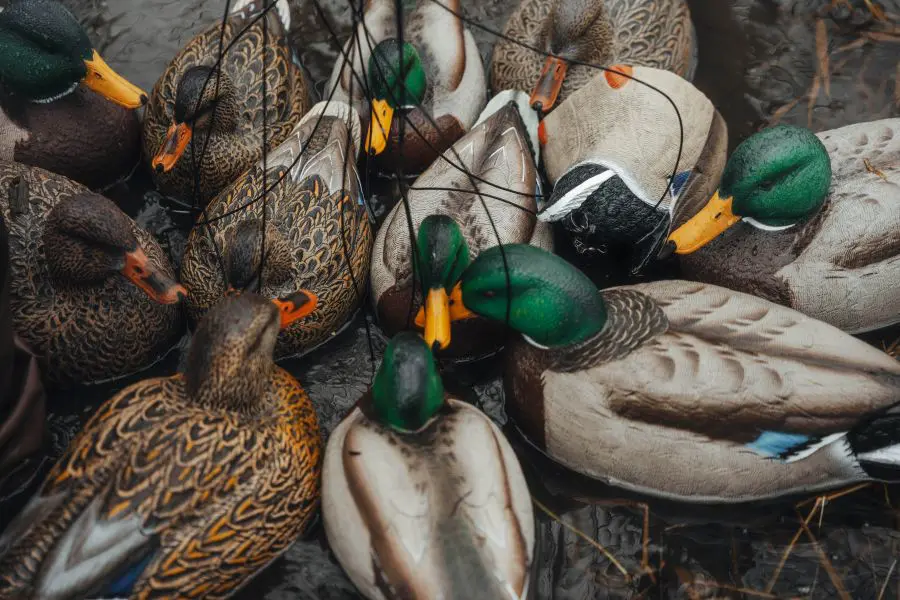
Repairing Full-Bodies and Floaters
Readily available, cheap RTV silicone is perfect for patching shot holes, and if you’re having trouble tracking down leaks, drill a hole in the top of the decoy near the tail and add water. Check for leaks and use a magic marker to note the location and extent, then flip the decoy over and drain the water out until it’s completely empty. A good adhesive such as windshield urethane or 3M 5200 does a great job of filling in major gashes or dealing with structural issues, such as a dislocated keel or broken head. Don’t forget to patch any holes you drilled. Do yourself a favor and wear nitrile gloves for all of this, too, and keep some mineral spirits handy to clean up messes.
Full body decoys are often crushed under the weight of dozens of decoys and it’s a bit of a miracle they hold up as well as they do. Besides dented bodies, stakes and bases often end up getting bent. Fortunately, it’s easy to pop bodies back into shape and tune stakes and bases for the correct posture, which not only looks more realistic, but also promotes proper decoy motion as designed.

Makeover Rehab
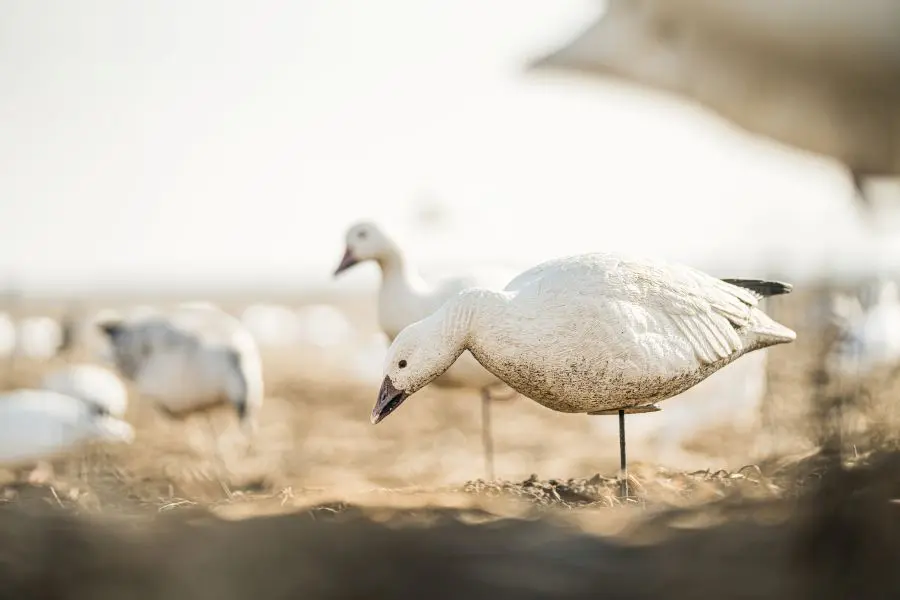
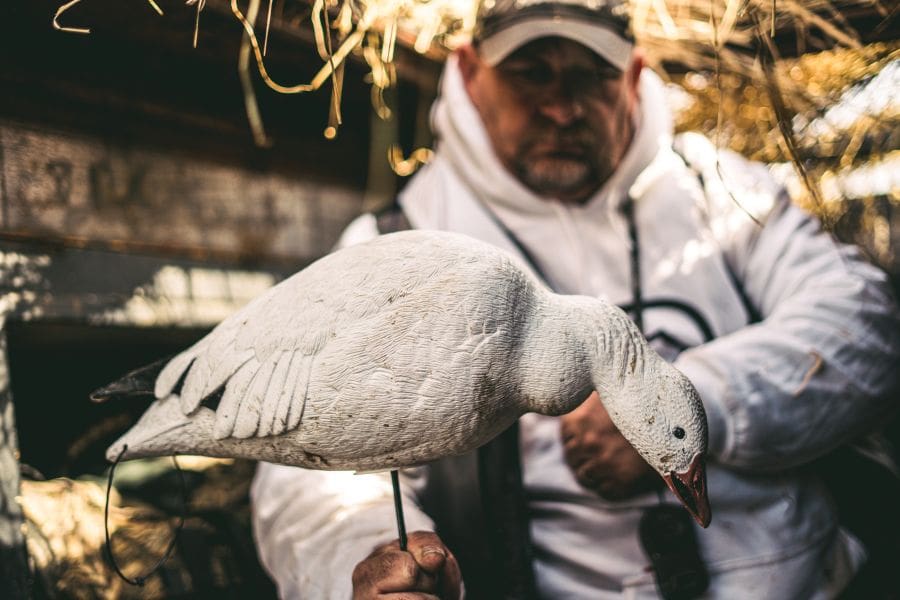
Full-bodies and floaters alike endure a notoriously challenging existence. Full-body decoys are thrown around, slammed and stacked into trailers and floaters are shellacked with mud and duckweed then slammed into the bottom of a boat or a blind, and both styles of decoys are regularly shot at close range when birds land in the decoys. Heads can break and paint often become filthy and chipped. Snow goose decoys are especially susceptible to soiling, and while real snow geese do get dirty, decoy spreads have much better visibility and appeal to high-flying birds when decoys are clean and pop at a distance. A pressure washer can be used to clean decoys, but it’s risky as excessive water pressure may blow off paint or flocking.
Start with a soft brush and warm, soapy water and get to work. This is one of the more laborious decoy maintenance tasks, but honestly it should be standard operating procedure to give decoys thorough cleanup prior to opening day and continue to clean as necessary during the season for best results.
Inspect/Paint
Once the decoys are clean, assess any parts that need repairing, including keels, heads, feet and stake bungees (retune stakes as needed). Heads can be glued (or even screwed and sealed) with the same black windshield urethane or 3M 5200 mentioned above. Flocked heads are notorious for becoming ragged and a quick midseason freshen-up for Canada goose decoys is to hit the flocked areas with UV resistant flat or even satin black spray paint (be sure to mask off adjacent non-black areas).
This is by no means a proper fix, but it works in a pinch, and while re-flocking always seems like a legit option, a quick “spray up” and reassignment to the B-team to make room for brand new, factory flocked decoys is by far and away the best option!
Newer decoys are molded with flexible materials that won’t crack or split and are marked flawlessly with ultrarealistic paint, but nothing is immune from excessive abuse. Use species color-matched UV resistant decoy paints to touch up worn areas and chips, then lightly coat the entire decoy with UV resistant matte clear spray. This will not only protect paint, but also reinvigorate decoys with some extra pop without excessive shine.
Fixing decoys may seem like a major task, but it doesn’t take a lot of time or money to keep your investment in tip top shape. And, to be perfectly honest, it’s kinda fun to bring banged-up decoys back to life!